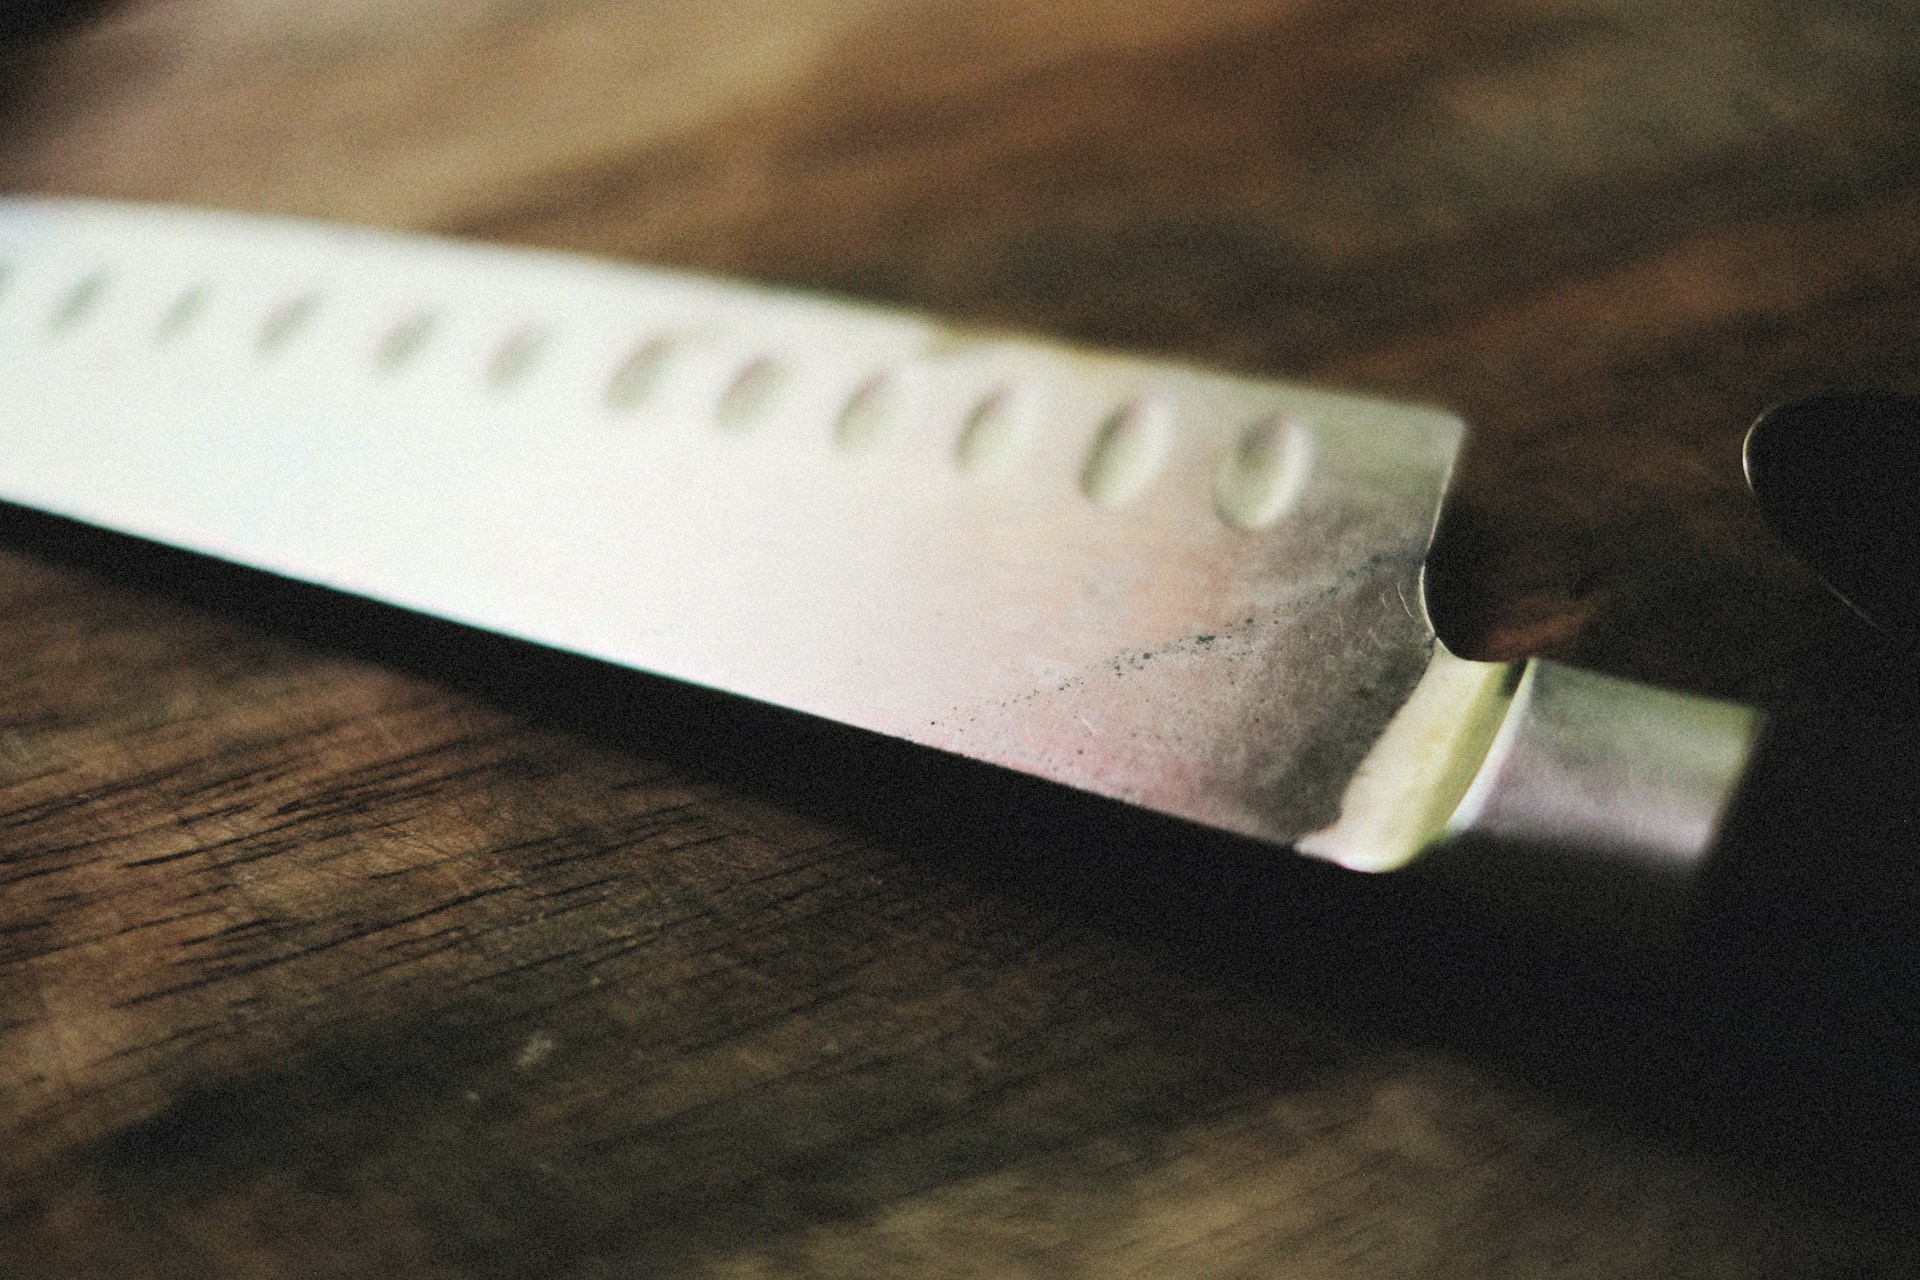
Sharpening Knives: Get the Right Edge Without Ruining It

You reach for the chef’s knife, press into a ripe tomato, and the blade slides sideways instead of biting. Or your pocket knife skates across cardboard that it used to open in one pass. That is the moment most people go looking for a stone, a pull-through, or a YouTube video, and then make the edge worse than it was when they started.
Sharp Things OKC sits on the other side of that problem. The shop stocks the blades and the knowledge behind them, and staff will tell you straight when a knife needs a stone, a strop, or a replacement. That kind of answer is easier to get from someone who carries daily than from a comment section.
In this guide, you’ll discover the angle range that actually works for kitchen and pocket blades, the honest trade-offs between a whetstone and a pull-through sharpener, and a step-by-step stone method that raises a real burr instead of a rounded apex. Sharpening is a skill, not a gadget. Learn the geometry first and the tools get a lot cheaper.
Start With the Edge You Already Have
Before you touch a stone, figure out what edge is on the knife right now. Most dull knives are not worn out. They have a rolled apex that needs alignment, not steel removal.
Hold the blade edge-up under a light. A sharp edge disappears into a thin dark line. A dull edge catches light and shows bright flat spots, chips, or a shiny rolled lip.
Sharpening Versus Honing
Sharpening removes steel to create a fresh apex. Honing pushes a bent apex back into line without removing much metal.
A honing steel or ceramic rod realigns the edge between real sharpening sessions rather than removing steel. Ceramic rods bite slightly more than smooth steel rods, which helps on harder stainless blades. If a few passes on a rod bring the edge back, you never needed a stone.
Read the Factory Bevel Before Removing Steel
Look at the width of the existing bevel along the edge. A wide, even bevel means the factory grind is intact. An uneven width means someone has already changed the angle.
Match that bevel when you sharpen. Going shallower means grinding away a lot of steel before you reach the apex. Going steeper leaves a blunt shoulder that never gets sharp.
Manufacturers set their own factory angles, and matching them saves you from an unnecessary reprofile. Spyderco typically grinds at 15 to 17 degrees per side, Benchmade at 15 to 18 degrees, and Buck’s 110 and 112 folders at 18 to 20 degrees, so checking the maker’s spec before you start is worth the extra minute.
Per-Side Angles and Inclusive Angles
Angles are stated two ways, and mixing them up ruins edges. Degrees per side is what you hold against the stone. Inclusive angle is the sum of both sides.
- 15 degrees per side equals a 30-degree inclusive angle: thin, fast slicing, chips easier
- 17 degrees per side equals 34 inclusive: strong all-around choice for most folders
- 20 degrees per side equals 40 inclusive: tougher edge, needs more force per cut
- 25 degrees per side equals 50 inclusive: heavy work, chopping, abuse tolerance
Most sharpening guides and angle guides are labeled per side. Now the question is which number belongs on the knife in your hand.
Choose the Right Angle for the Blade and Job
The right sharpening angle depends on the steel’s hardness, the blade thickness, and what the knife actually cuts. No single number is correct, but 15 to 20 degrees per side covers almost everything you own.
Kitchen Edges for Clean Food Prep
Western kitchen knives, the German-style workhorses, run well at 17 to 20 degrees per side. That edge survives contact with a cutting board and still slices tomatoes clean.
Japanese kitchen knives use harder steel and thinner geometry. A santoku or gyuto often lives happily at 12 to 15 degrees per side. Single-bevel blades like a deba are a different animal and need the back side left alone.
Pocket and EDC Edges for Daily Work
A pocket knife takes lateral force that kitchen knives never see. Prying open a box, twisting through zip ties, cutting against concrete all punish a thin apex.
Set an EDC folder at 17 to 20 degrees per side. Add a micro-bevel a couple of degrees steeper if the edge keeps rolling. That tiny secondary bevel buys real edge stability with almost no loss in slicing performance.
Outdoor and Specialty Blades That Need More Support
Hunting and outdoor knives that hit bone or wood do better at 20 to 22 degrees per side. Toughness beats keenness when a chip means field surgery on your gear.
Fillet knives go the other direction, around 15 degrees, because they slice soft tissue and never chop. Serrated knives get sharpened one scallop at a time with a tapered ceramic rod, never on a flat stone.
Once you know the target angle, the method decides whether you can actually hold it.
Pick a Sharpening Method That Fits Your Skill Level
Every sharpening method trades control for convenience. Pick based on how much practice you are willing to put in, not on which tool looks most serious.
Whetstones for Maximum Control
A sharpening stone gives you full control over angle, pressure, and how much steel comes off. Water stones cut fast and need soaking or splashing. Oil stones, including Arkansas stones cut from novaculite, cut slower and leave a very fine finish with a few drops of honing oil.
Diamond stones handle hard, high-carbide steels that regular stones barely touch. They cut fast, stay flat, and need no soaking. A coarse stone plus a fine stone covers most work. Sharp Things OKC carries whetstones, diamond plates, and strops from DMT, Wicked Edge, and Smith’s Sharpeners across a wide range of grits and price points in the sharpeners section, so you can put your hands on a few before deciding.
Guided Systems and Angle-Controlled Sharpeners
Guided systems clamp the blade and set the sharpening angle for you. They remove the hardest part of learning: holding a consistent angle for hundreds of strokes.
The trade-off is setup time and bench space. They also struggle with long kitchen knives and heavily curved bellies. Many people use one for a year, learn the feel, then move to freehand.
Pull-Through and Electric Options With Clear Limits
Pull-through sharpeners are fast, cheap, and work. They also grind at one fixed angle regardless of your knife’s existing bevel, and carbide inserts tear steel rather than abrade it.
Electric knife sharpeners like the Work Sharp line do better, thanks to their belts and preset angles. Both categories remove more metal than a stone would. On a cheap kitchen knife, that is a fair trade. On a hard Japanese blade or a premium folder, it is not.
Rods and Strops for Routine Touch-Ups
A ceramic rod or a honing steel keeps a good edge good between sharpening sessions. Five or six light passes per side before cooking does more than a monthly grinding session.
A leather strop with polishing compound removes the last of the burr and aligns the apex. Stropping fixes a rolled edge in a minute. It cannot fix a worn one.
Build a Clean Edge on a Stone
Here is the actual process. Work the first few times slowly; speed comes from consistency, not the goal.
Set Up the Stone and Mark the Bevel
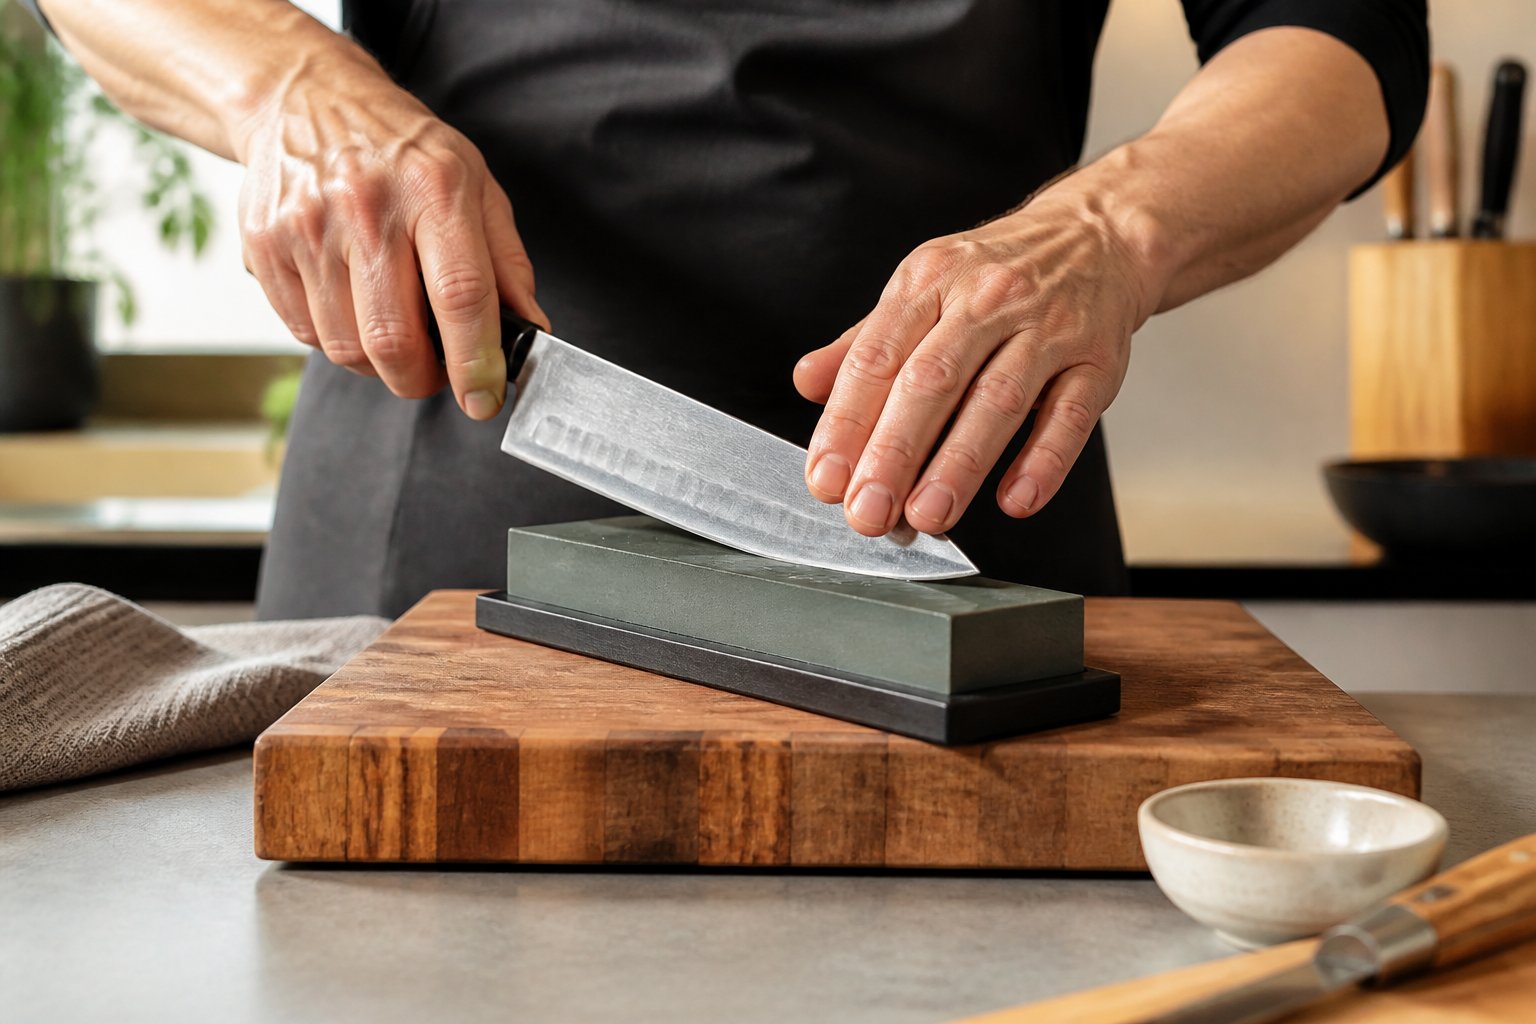
Soak or wet the stone as its type requires, then set it on a damp towel or in a holder to prevent it from sliding. Color the bevel with a marker.
That marker line is your feedback. If ink disappears only near the apex, your angle is too shallow. If it vanishes at the shoulder, you are too steep.
Raise a Burr From Heel to Tip
Set your knife sharpening angle, then push the blade across the coarse stone edge-first, like shaving a thin layer off the surface. Keep the spine height locked and move in sections on longer blades.
Work one side until you feel a small steel wire on the opposite face. That burr means you reached the apex. Switch sides and repeat with the same stroke count.
Refine, Deburr, and Strop Without Rounding the Apex
Move to the fine stone with lighter pressure. Each finer grit erases the scratches left by the last one and thins the burr rather than building it up.
Finish with alternating light passes, then 10 to 15 trailing strokes per side on the strop. Trailing means the edge drags behind. Leading strokes on leather roll the apex right over.
Test the Edge Without Taking Risks
Slice a sheet of printer paper held upright. A properly sharpened knife cuts a clean curl without catching or tearing.
Then try a tomato skin or a piece of rope, whatever the knife exists to cut. Never drag your thumb along the edge to check knife sharpness.
Maintain the Edge and Know When to Get Help
Keeping a sharp knife sharp takes minutes a week. Bringing back a truly dull knife takes an hour and costs you steel.
Prevent Damage Between Sharpening Sessions
Most edge damage happens outside of cutting. Wood or plastic cutting boards protect the apex; glass, stone, and ceramic destroy it. Hand wash your kitchen knives and dry them right away.
Store blades so nothing rubs the edge. A block, a sheath, or a magnetic strip all beat a drawer. Then hone with a rod before use, not after the edge fails.
When Local Professional Sharpening Makes Sense
Some jobs are not worth doing at home. Chipped tips, broken serrations, or a full reprofile on hard steel all go faster in the hands of someone who does this every day.
Sharp Things OKC’s team can look at a blade in person and tell you honestly whether it needs a touch-up, a full sharpening, or a fresh knife altogether. Contact the shop or call (405) 286-2112 to ask what they can do for your knife and how long it takes.
When Replacement Beats Another Reprofile
A knife that has lost a third of its blade height to years of grinding is done. So is one with a soft, wobbly edge that dulls after two onions.
Repeated reprofiling on cheap stamped steel costs more in time than a better knife costs to buy. Know when a blade has given what it has.
Choose Your Next Blade With a Sharper Standard
Once you sharpen your own knives, you buy differently. You start asking about steel, hardness, and grind before price.
Look for full-flat or hollow grinds you can actually thin over time, and steels that hold an edge without fighting your stones. The Blade Info page breaks down common blade finishes and grinds if you want the vocabulary before you shop. That is a better filter than any marketing copy.
Frequently Asked Questions
How Do I Sharpen a Knife at Home?
Pick a coarse stone and a fine stone, set your angle, and grind one side until a burr forms along the whole edge. Switch sides, refine on the fine stone, then strop off the burr. A guided system works if holding a steady angle feels hard.
What Is the Best Angle for Sharpening a Kitchen Knife?
Western kitchen knives do best at 17 to 20 degrees per side, which is a 34 to 40 degree inclusive angle. Japanese kitchen knives with harder steel often run 12 to 15 degrees per side. Match whatever bevel is already on the blade unless you plan a full reprofile.
Should I Use a Whetstone, Pull-Through Sharpener, or Honing Rod?
A whetstone gives the best edge and the most control, but takes practice. A pull-through is fast and fine for inexpensive kitchen knives, though it removes extra metal at a fixed angle. A honing rod realigns a rolled edge between sharpening sessions rather than removing steel.
How Often Should I Sharpen My Knives?
Hone kitchen knives every few uses and sharpen them every two to six months, depending on how much you cook. Pocket knives usually need a stone every few weeks of real work. Sharpen when the blade stops biting paper, not on a calendar.
How Do I Sharpen a Knife With a Whetstone?
Wet or soak the stone, secure it, and mark the bevel with a marker so you can see your angle. Push edge-first at your target angle, working heel to tip, until a burr forms, then repeat on the other side. Finish on a fine stone with light pressure and strop off the wire edge.
What Is the Difference Between Honing and Sharpening?
Honing pushes a bent edge back into alignment and removes almost no steel. Sharpening abrades metal away to form a brand new apex. Honing buys you time; sharpening resets the edge.
Sharp Edges Start With Good Steel
The angle range is simple: 15 to 20 degrees per side covers nearly every knife you own, with thinner for slicing and steeper for abuse. The rest is consistency, a real burr, and a strop that lifts the wire edge instead of rolling it. Do that a few times and your knives stay sharp with a rod and five minutes a week.
Sharpening also tells you the truth about your blades. A good steel rewards the work, and a soft one never holds what you gave it. When that becomes obvious, it is time to upgrade rather than keep grinding.
Shop the blade collection at Sharp Things OKC. OKC-area readers, stop by the N May Ave store and hold a few before you decide.