How to Carve a Turkey Without Shredding the Breast

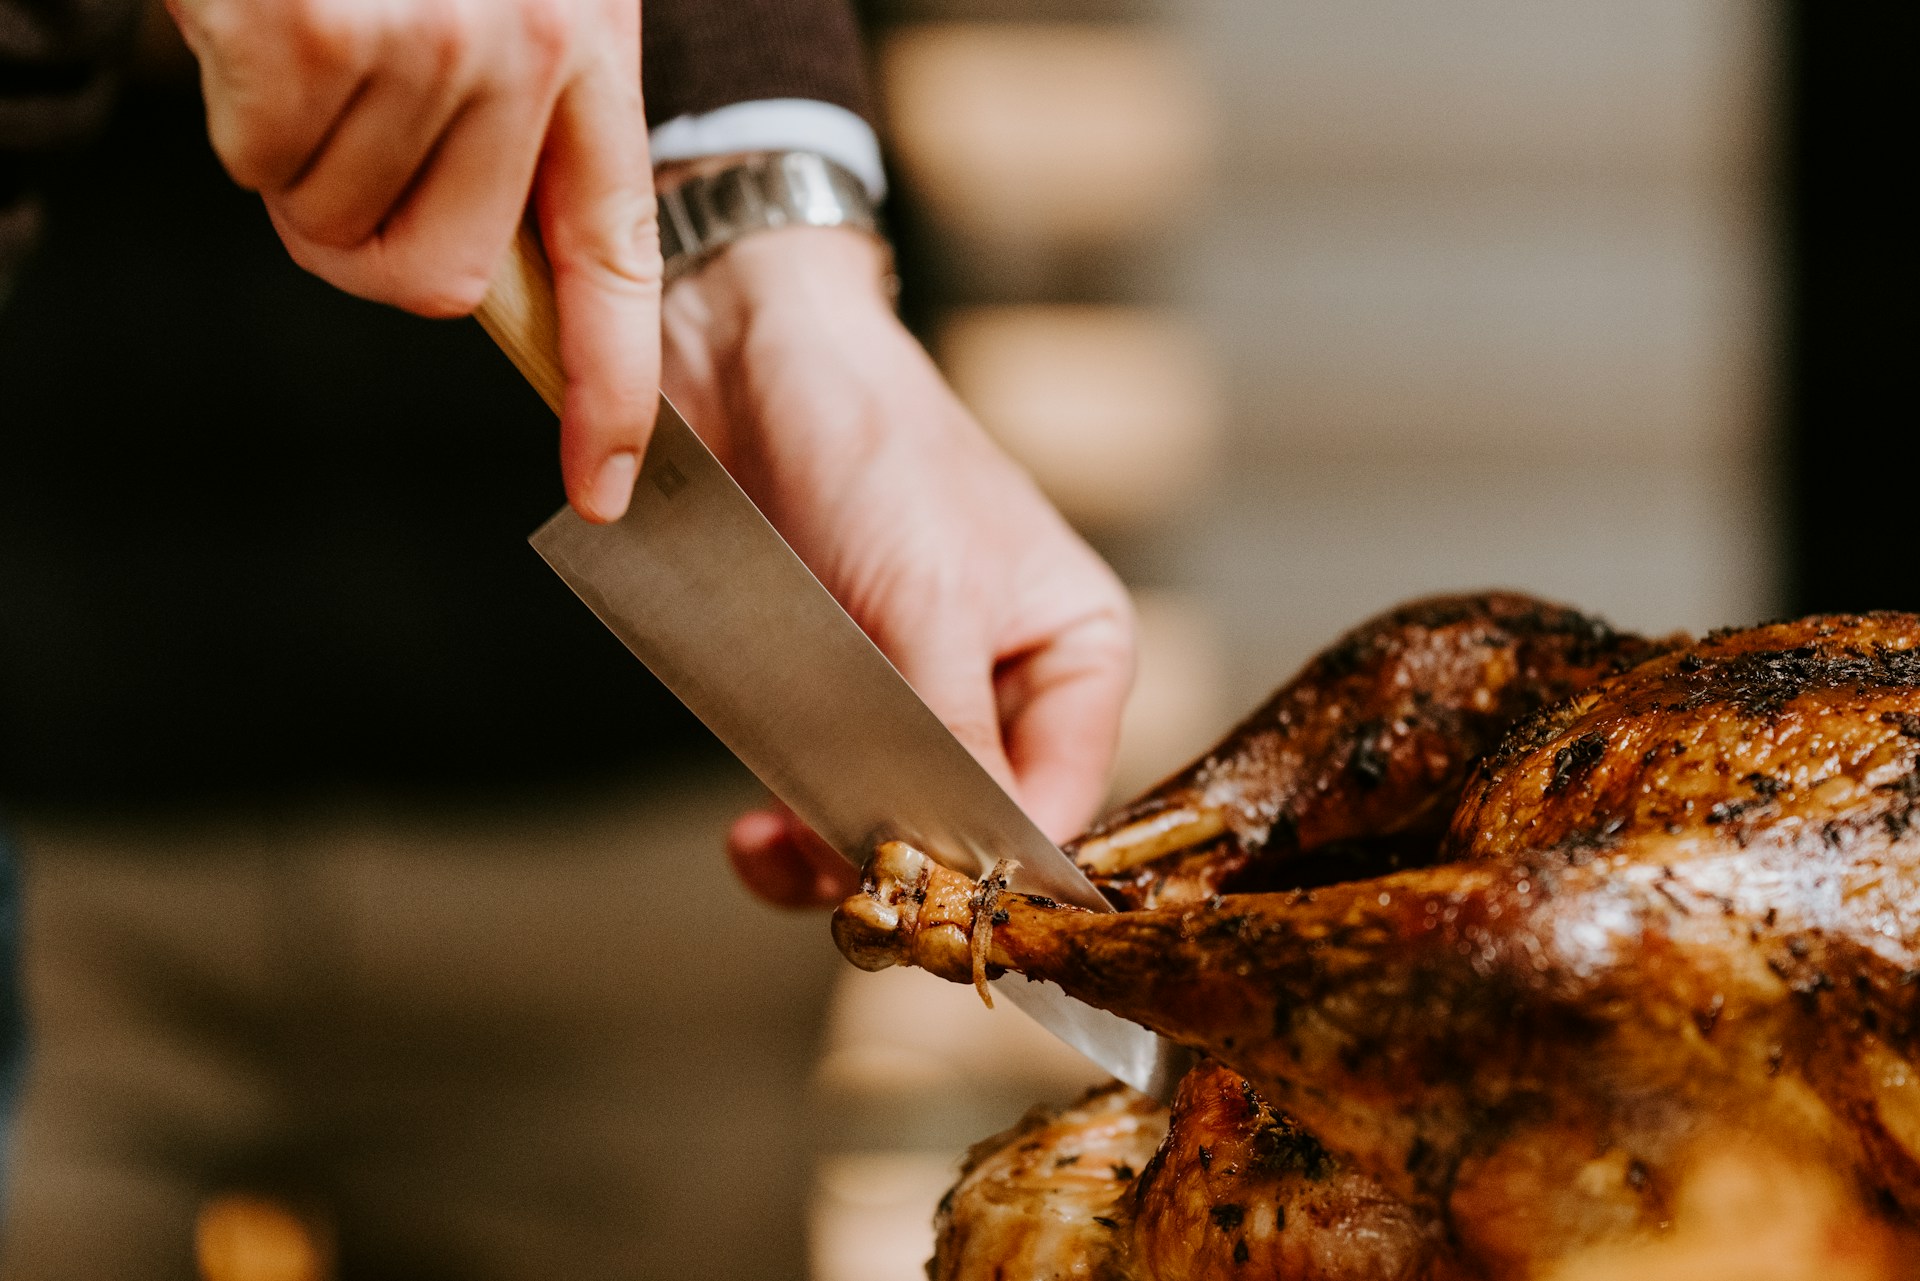
The bird is out of the oven, everyone is hovering, and you have been handed the knife. Learning how to carve a turkey well comes down to three things you can control: a long, sharp blade, a short rest before you cut, and taking the bird apart in sections instead of sawing slices off the frame. Get those right and you put neat, juicy slices on the platter instead of torn pieces and a pile of skin.
This guide walks through the knife, the setup and the exact order of cuts, so the carve takes about ten calm minutes.
The Right Knife Does Most of the Work
A turkey breast is soft, and a short or dull blade has to push down hard to get through it. That pressure squeezes out juice and tears the meat. A long, thin, sharp blade lets you cut with one or two smooth strokes instead.
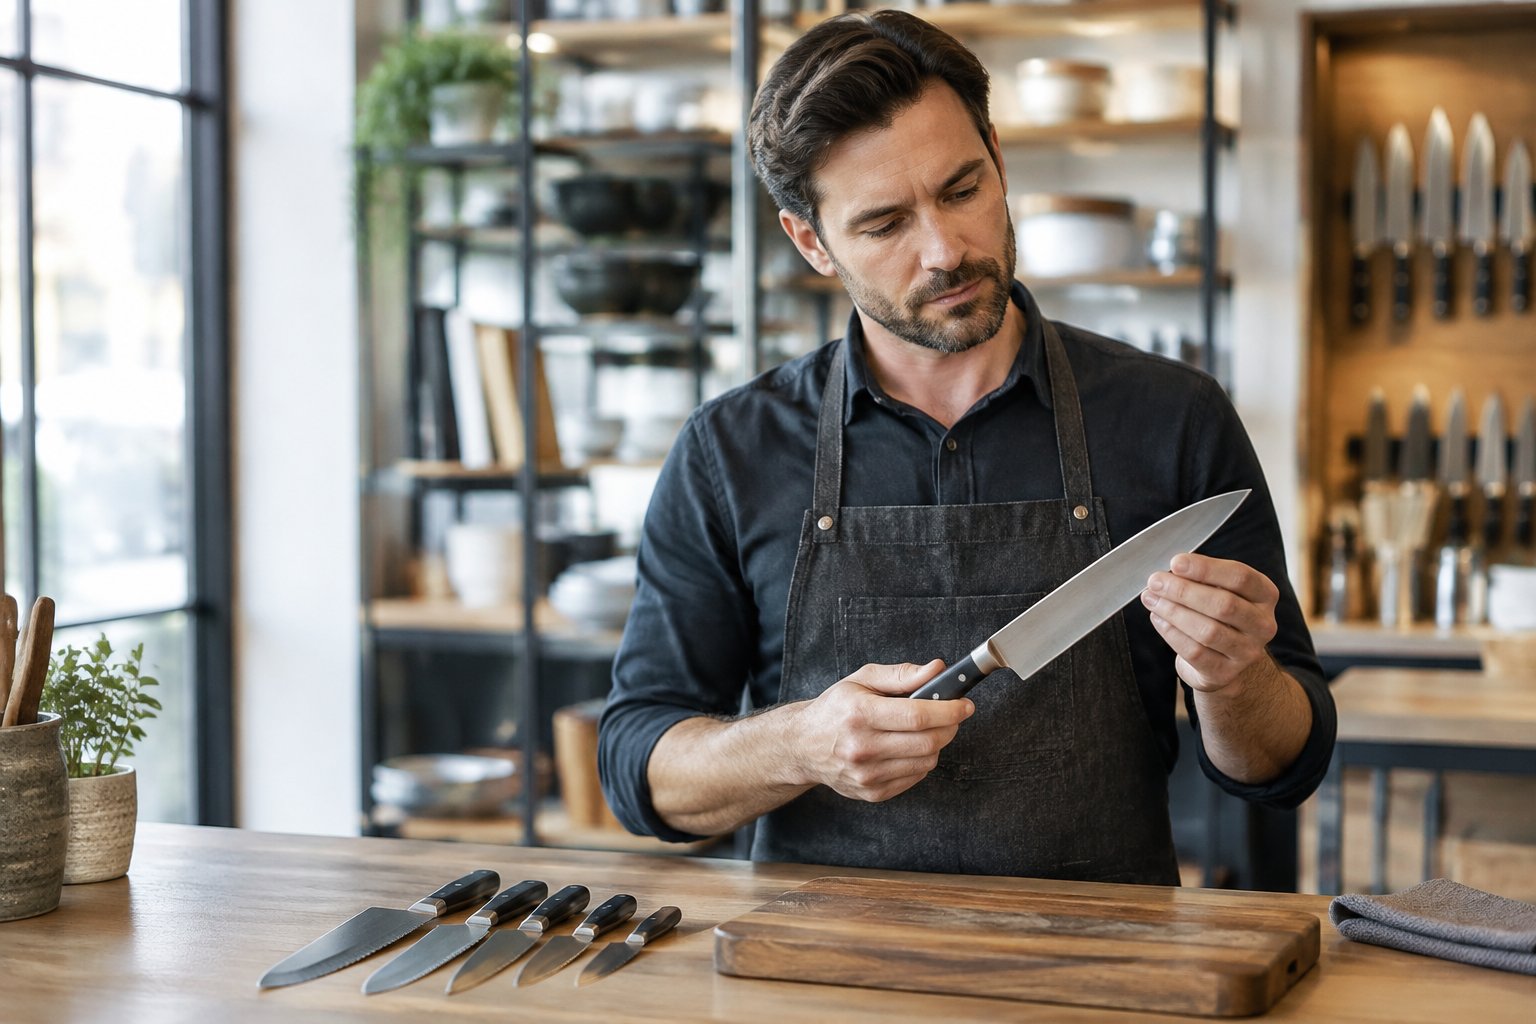
Carving knife. A traditional carving knife has a long, narrow blade, usually 8 to 10 inches, with a pointed tip. The point helps you work around the thigh joint and along the breastbone. It is the most useful single knife for poultry because it can both separate joints and slice.
Slicing knife. A slicing knife is longer and often has a rounded or blunt tip, sometimes with a scalloped edge. It is built for long, even slices from a boneless roast, brisket or ham. It shines once the breast is already off the bone, but the rounded tip is clumsy around joints.
Chef’s knife. It works in a pinch. The wider, taller blade is great for jointing the legs, but it drags more through slices than a narrow blade does.
So, on carving knife vs slicing knife: if you only buy one blade for holiday birds, pick a carving knife. If you also smoke brisket or slice boneless roasts, a slicing knife earns a spot next to it.
Pair the knife with a two-pronged carving fork. The fork steadies the bird without you pressing on the meat with your hand, which keeps the slices intact and your fingers out of the way. A matched set like the Lamson Premier Forged 2-piece carving set gives you both pieces with the same handle and balance.
Hone the Edge Before Guests Arrive
Even a good knife loses its keen edge between holidays because the fine edge rolls slightly to one side with use. A few passes on a honing rod pushes that edge back into line. Do it in the afternoon, not with a hot bird resting on the counter.
Hold the rod upright with its tip on a damp towel. Set the blade against it at roughly 15 to 20 degrees and draw it down and toward you, heel to tip, alternating sides for five or six light strokes each. Choose a rod at least as long as the blade, so a 10 inch carving knife wants a 10 inch steel.
If the knife still skids on a tomato skin after honing, it needs real sharpening, not just honing. Our guide to sharpening knives at the right angle covers how to do that without damaging the edge.
Rest the Turkey and Set Up Your Station
Check doneness before you think about carving. The USDA says a whole turkey is safe at a minimum internal temperature of 165°F, checked in the innermost part of the thigh and wing and the thickest part of the breast. It also recommends letting the turkey stand for 20 minutes before carving so the juices set (USDA Food Safety and Inspection Service). Remove any stuffing from the cavity before you start.
Use that 20 minutes to set up:
- A large cutting board with a juice groove, set on a damp towel so it cannot slide
- A warm platter for the finished meat
- A sheet pan or bowl for bones and scraps
- Paper towels for wiping your hands and the knife handle
Lift the turkey onto the board breast side up with the legs pointing toward you.
Get your carving set sorted before the holiday rush: come handle carving knives, slicing knives and forks side by side at Sharp Things OKC on N May Ave, open 9AM to 9PM every day, or browse our kitchen knives online.
How to Carve a Turkey in Order: Legs, Wings, Then Breast
Taking the bird apart in sections is faster and neater than slicing at it whole. It also means the breast comes off in one piece, which is the secret to even slices.
1. Remove the legs and thighs
Steady the bird with the fork. Slice through the skin between the breast and the thigh. Pull the leg gently away from the body until the hip joint pops, then cut through the joint with the tip of the knife. Repeat on the other side.
On the board, find the joint between the drumstick and the thigh by wiggling it. Cut straight down through that joint. The drumsticks can go to the platter whole.
2. Slice the thigh meat
Lay each thigh skin side down and cut along both sides of the thigh bone to free it. Turn the meat skin side up and slice it into pieces about a half inch thick. Thigh meat is forgiving, so it is a good place to get a feel for the knife.
3. Take off the wings
Pull each wing out from the body and cut through the shoulder joint where it meets the breast. If the wing resists, you are on bone, not joint. Move the knife slightly and try again rather than forcing it.
4. Remove each breast half in one piece
Find the breastbone running down the center of the bird. Cut down along one side of it, keeping the knife pressed close to the bone. Then make a horizontal cut along the bottom of the breast, just above where the wing was. Use long, gentle strokes and the knife tip to peel the whole breast half away from the ribcage. Repeat on the other side.
5. Slice the breast across the grain
Lay a breast half skin side up. Look for the direction the muscle fibers run, which is mostly lengthwise along the breast. Cut across those fibers into slices about a quarter to a half inch thick, using the full length of the blade in one or two smooth strokes. Short sawing strokes are what tear the skin off.
Cutting across the grain shortens the fibers, so each slice is more tender to chew. This is where a long carving or slicing knife makes the biggest difference.
Plate It So It Stays Warm
Fan the breast slices on the warm platter with the skin facing up so it stays crisp. Put dark meat on the other side, with the drumsticks and wings on the ends. A spoonful of hot broth or pan juice over the slices keeps them from drying while everyone sits down.
Pick the frame clean afterward. There is usually plenty of meat on the back and around the wishbone for leftovers or soup.
Handle the Leftovers Safely
Turkey, stuffing and gravy should not sit out longer than two hours, or one hour if it is above 90°F. Split leftovers into smaller portions in shallow covered containers so they cool faster, and use refrigerated turkey within 3 to 4 days, according to the same USDA guidance.
Care for Your Carving Knife After Dinner
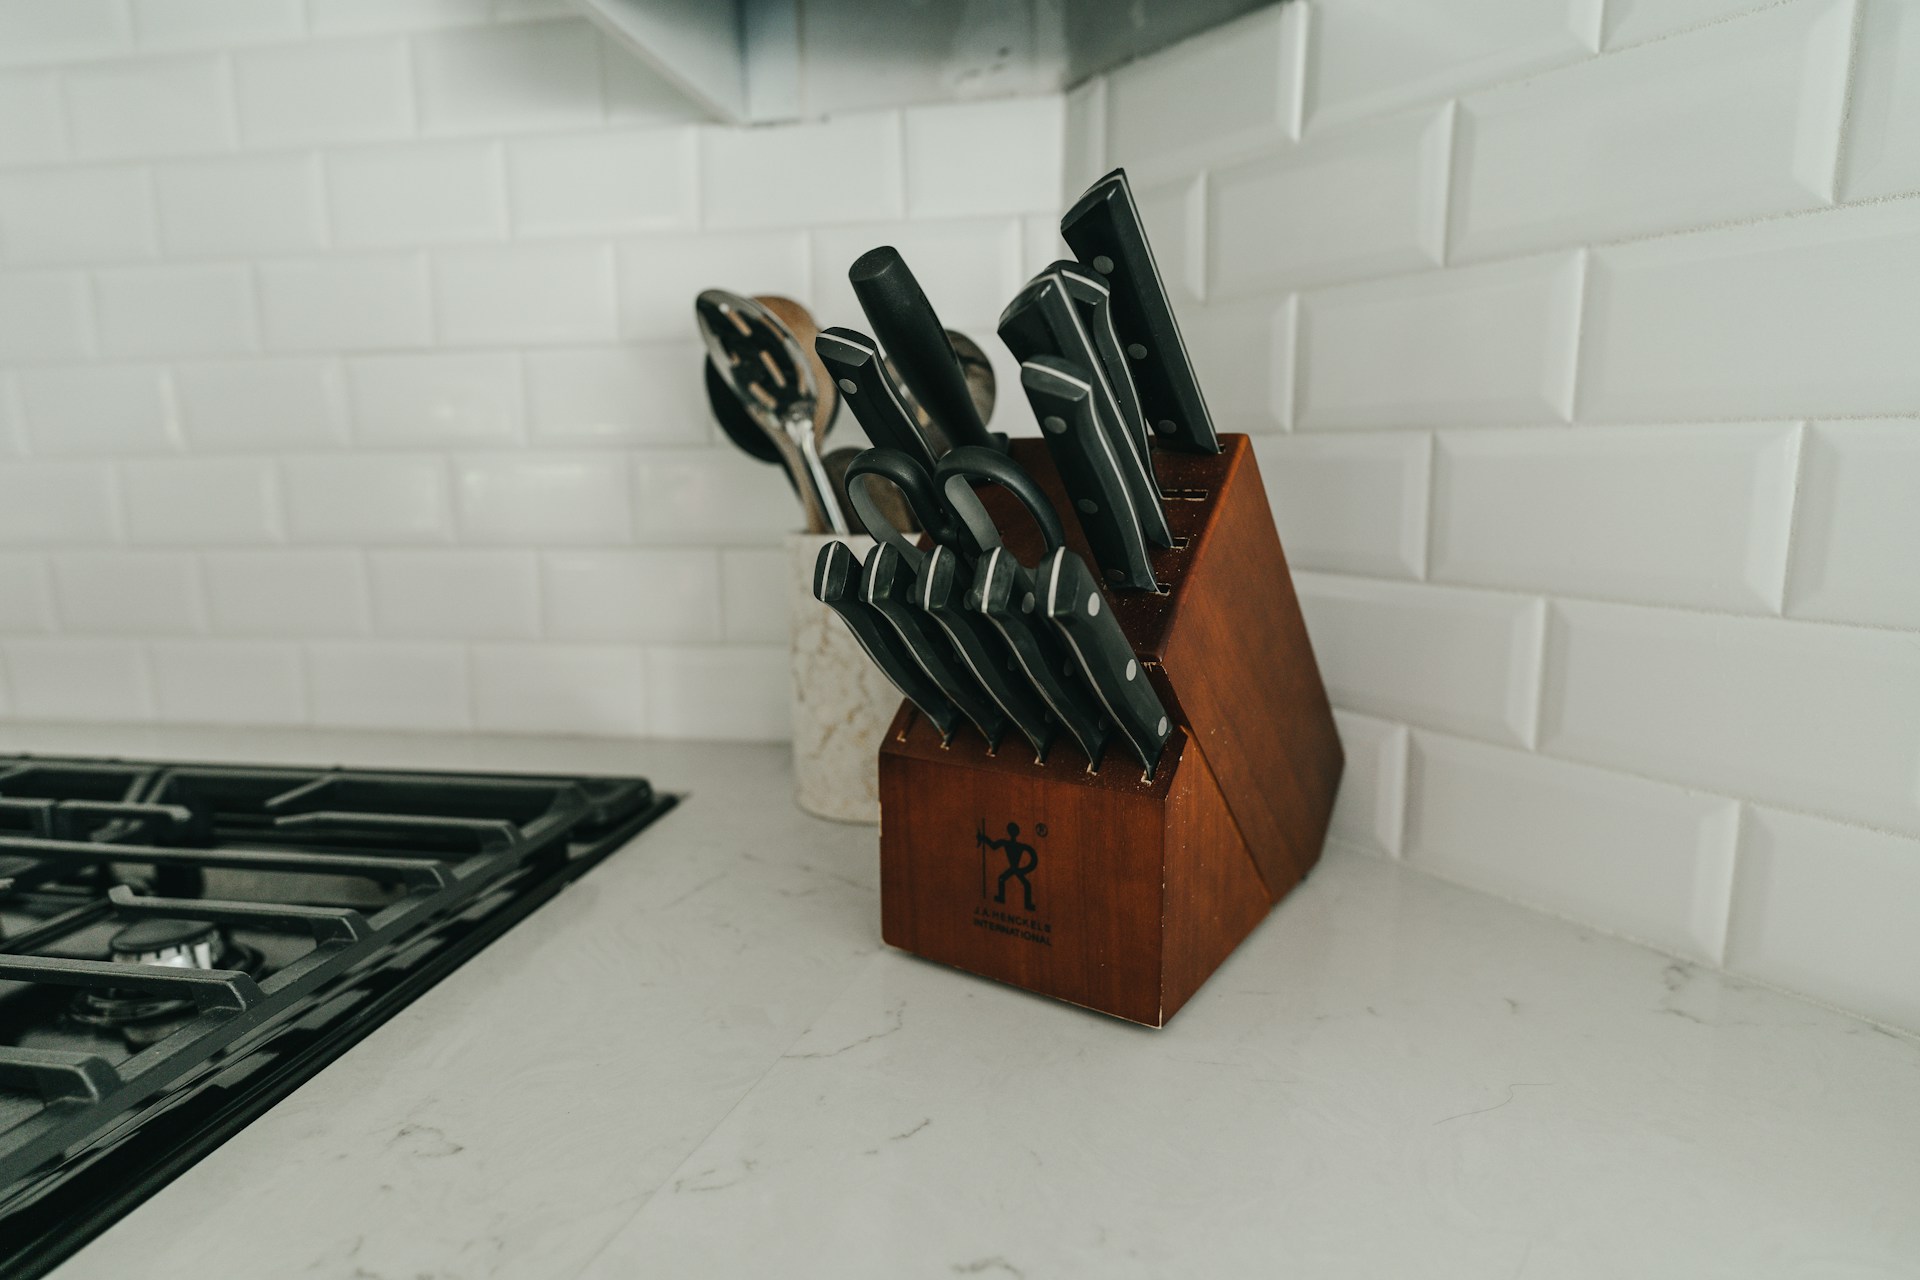
Wash the knife by hand with warm soapy water and dry it right away. A dishwasher bangs the edge against racks and other utensils, and long soaks are hard on wood and composite handles. Store it in a block slot or with a blade guard so the edge is not knocking around in a drawer. If you are thinking about adding pieces around it, our guide to choosing a kitchen knife explains which blades earn their place.
Make This Year the Clean Carve
A smooth carve is mostly preparation. Hone a long blade ahead of time, rest the bird, take it apart joint by joint, and slice the breast across the grain with full strokes. The platter looks better, and the meat stays juicier.
Find the right carving knife in person: stop by Sharp Things OKC at 6610 N May Ave in Oklahoma City to feel the weight and length of a few carving sets before the holiday, or shop the Lamson kitchen collection online at SharpThings.com.
Frequently Asked Questions
What size knife is best for carving a turkey?
A blade of 8 to 10 inches suits most home turkeys. Anything shorter forces you to saw back and forth across a large breast, while much longer blades get awkward around the leg joints.
Can I use an electric knife to carve a turkey?
You can, and it cuts quickly, but the vibrating blades tend to shred the skin and give rougher slices. A sharp manual carving knife gives cleaner edges and more control around the joints.
Should I carve the turkey at the table or in the kitchen?
Carving in the kitchen is easier. You have more counter space, a stable board and somewhere to put bones. Bring the sliced meat out on a warm platter, or carve only the second breast at the table if you want the moment.
Why are my turkey slices falling apart?
The usual causes are a dull blade, slicing with the grain, or cutting the turkey too soon out of the oven. Hone the knife, wait the full rest time, and slice across the muscle fibers.
Do I need a carving fork?
It is not required, but it helps a lot. Holding the meat with the fork keeps your hand away from the blade and stops you pressing juice out of the breast with your fingers.