How to Sharpen a Serrated Knife One Scallop at a Time

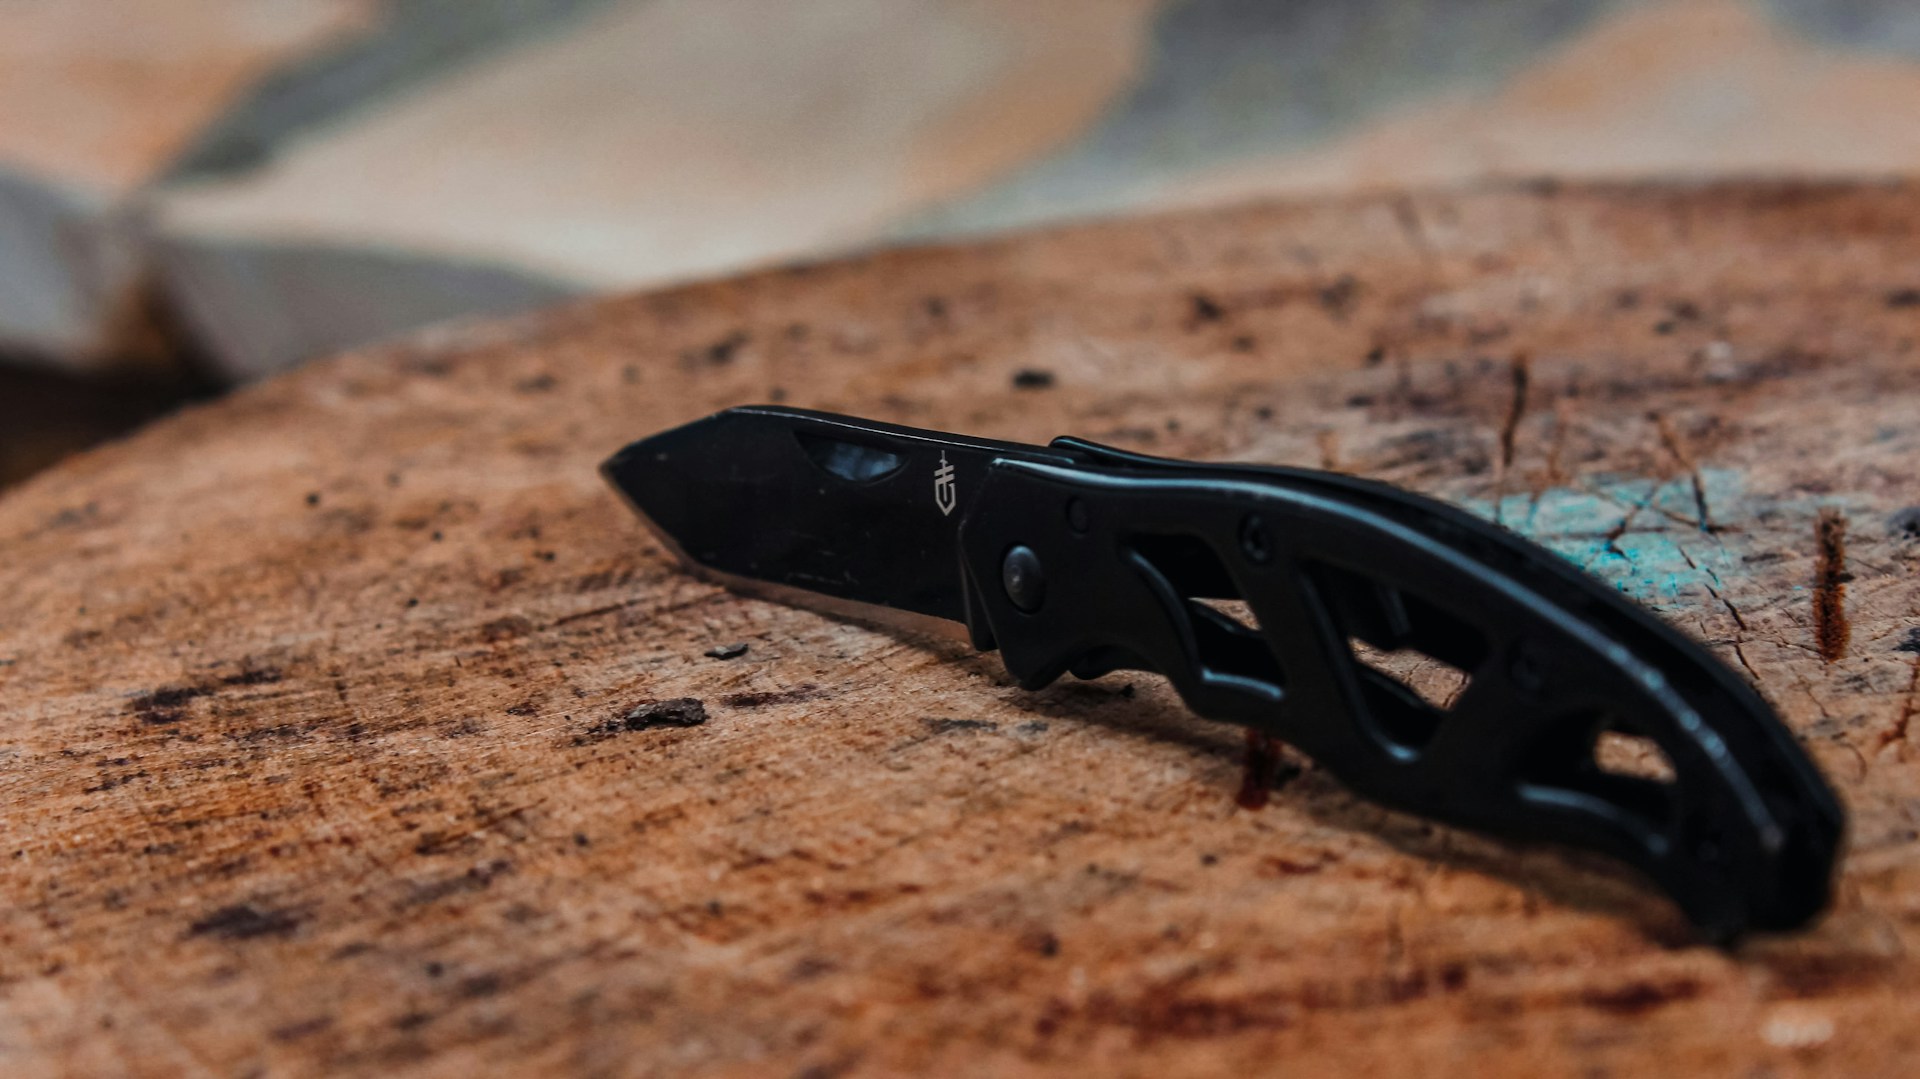
Here is how to sharpen a serrated knife in one line: work each scallop separately with a tapered rod, only on the side that has the bevel, then knock the burr off the flat side with a single light pass. A flat stone can’t reach inside the curves, and running the whole edge across one just grinds the tooth points down until the serrations disappear. The job takes longer than a plain edge, but it is not hard, and a knife you sharpen at home is a knife you keep using.
Below you will find the tools that actually fit the job, the step-by-step method, the mistakes that ruin serrations, and the point where it makes sense to stop and send the knife out.
Know Your Edge Before You Start
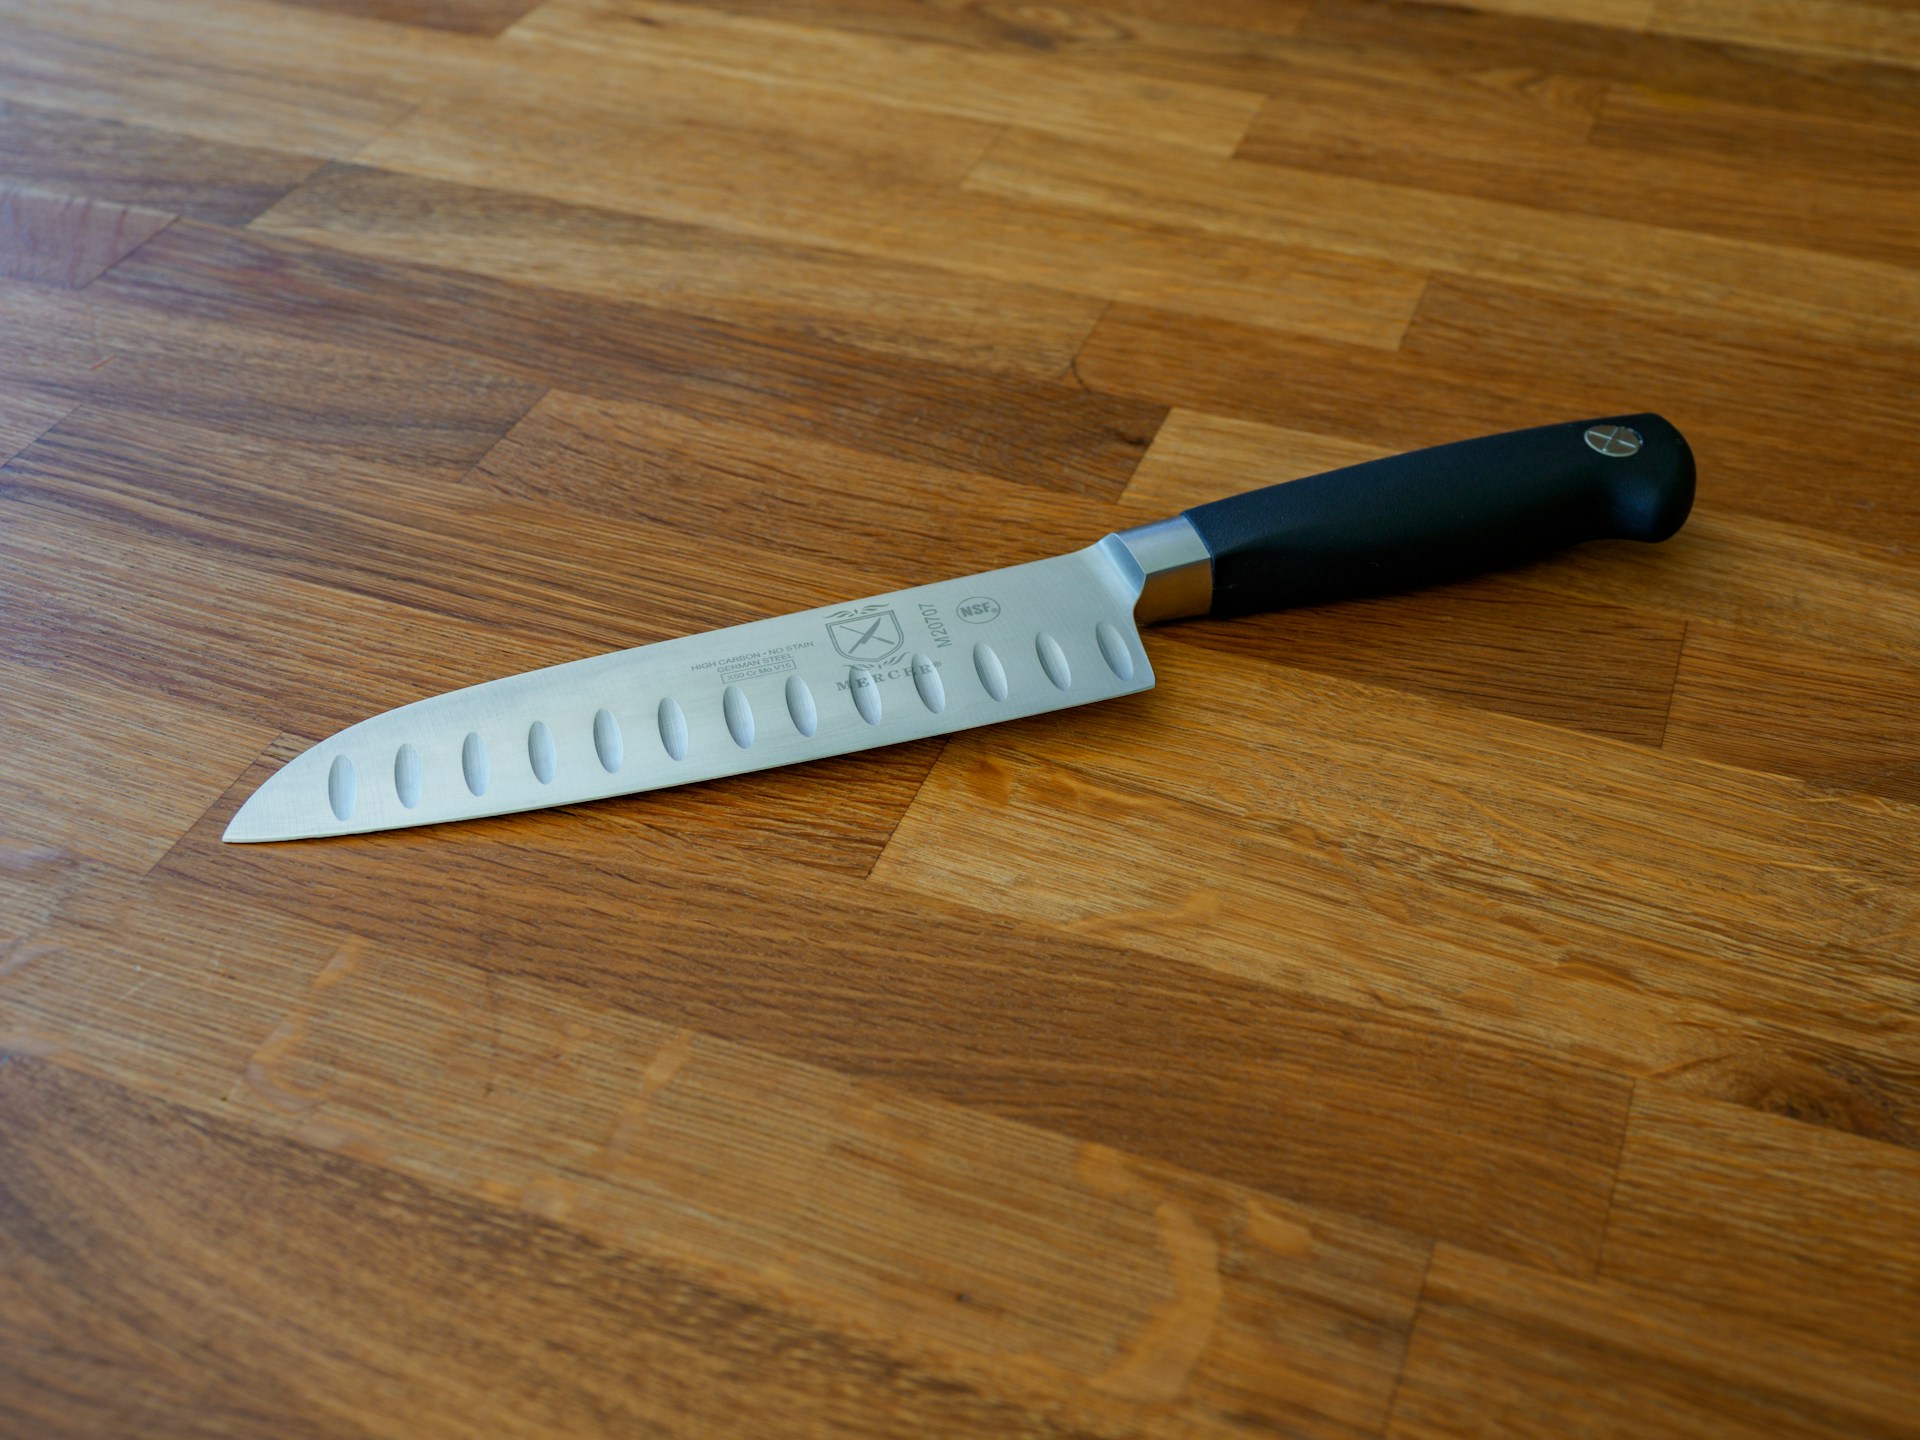
Look at the serrated section of your blade from both sides. On most pocket knives and many kitchen knives, the serrations are ground on one side only. That side shows the scalloped bevel. The other side is flat, or nearly flat, right up to the edge. This one-sided grind is called a chisel grind, and it decides how you sharpen.
You only shape the beveled side. The flat side gets nothing more than a deburring pass at the end. Some blades are different. A few bread knives and some specialty blades carry a bevel on both sides of the serrations, and a handful of designs grind alternating scallops from opposite faces. Run a fingernail gently down each face, away from the edge, and you will feel which side drops off into a bevel.
Also look at the scallop sizes. Many serration patterns mix one large scallop with two or three small ones in a repeating group. Each size needs a different part of the rod, which is why a tapered tool matters so much.
A felt-tip marker helps here. Color the beveled face of a few scallops. After a couple of strokes you will see exactly where the rod is touching, and whether your angle matches the factory bevel.
Tools That Work on Serrations
You do not need much, but you need the right shape.
Tapered rod
A rod that narrows from thick at the base to thin at the tip is the main tool. Slide it into a scallop until it fills the curve, and you have found the right spot on the rod for that scallop. Ceramic rods remove steel slowly and leave a fine finish. Diamond rods cut faster, which helps with very hard steels or badly worn edges, but they also make it easier to take off too much.
Triangular rods in a V setup
Some sharpening kits use triangular ceramic rods locked in a base at a fixed angle. The sharp corner of the triangle fits into small scallops, and the fixed angle takes guesswork out of the stroke. If your serrations are small and you struggle to hold a steady angle, this style is forgiving.
Pull-through serrated knife sharpener
For bread knives and kitchen serrated blades, a serrated knife sharpener of the pull-through type, such as the Kai pull-through serrated sharpener, is quick and simple. It gives up some precision compared to a rod, but on a long bread knife with even scallops it gets you back to clean slicing fast.
Fine flat stone
You need something flat and fine for the deburring pass on the flat side. An extra fine diamond plate or fine ceramic stone does it in one or two strokes, and it doubles for the plain section of a partially serrated knife.
Skip these on serrations: a standard flat stone on the scalloped side, an electric sharpener, or a pull-through sharpener built for plain edges. All three flatten the tooth points and widen the scallops.
How to Sharpen a Serrated Knife Step by Step
Work in good light, sitting down, with the knife held edge up or resting on a table edge so you can see each scallop.
1. Find the angle
Lay the rod into the first scallop on the beveled side. Tilt it until it sits flat against the bevel. That tilt is your sharpening angle. Factory serrations are often ground at a steeper angle than a plain edge, so trust what the bevel shows you rather than a number you read somewhere. The marker trick confirms it: if the color comes off evenly across the bevel, your angle is right.
2. Match the rod to the scallop
Slide the rod along its length until the section in the scallop fills the curve without forcing it wider. A rod that is too thick only touches the edges of the scallop. A rod that is too thin cuts a narrow groove in the middle.
3. Stroke out toward the edge
Use short, light strokes that move the rod through the scallop and off the edge. Keep the angle steady and let the rod do the cutting. Five to ten strokes per scallop is typical for a working knife that has just gone dull. Count your strokes so each scallop gets the same treatment.
Some people rotate the rod a little as they stroke, which helps it follow the curve. Others prefer a straight push. Either works if the angle stays put.
4. Check for the burr
Run a fingertip gently across the flat side, moving away from the edge, never along it. When you feel a tiny wire of metal catching your skin under the scallop you just worked, you have raised a burr. That burr means the bevel now meets the flat face, so that scallop is done. Move on to the next one.
5. Do the small scallops and the points
Repeat the process for every scallop, switching to the thin end of the rod for the small ones. The tooth points between scallops get sharpened along the way. Do not try to sharpen each point by itself, because that is how points get rounded.
6. Remove the burr from the flat side
Lay the flat side of the blade completely flat on your fine stone. Make one or two very light passes, as if you were slicing a thin layer off the stone. Keep the blade flat. Lifting the spine even slightly puts a bevel on the flat side, which changes the geometry for good.
You can also strip the burr by drawing the edge lightly through a piece of soft wood or a cork. A leather strop works for this too.
7. Test it
Slice a sheet of paper or the skin of a tomato. A properly sharpened serrated edge should bite on contact and saw through without tearing. If one section snags or skates, go back to those scallops and check them with the marker.
Get the right tool for your edge: browse our full range of knife sharpeners, from tapered rods and diamond plates to strops, or come into Sharp Things OKC on N May Ave and compare rod shapes against your own knife.
Partially Serrated Blades Need Two Methods
Many folders put a plain edge near the tip and serrations near the handle. The Benchmade Adamas with a partially serrated CPM-CruWear blade is a good example. Treat the two sections as two different knives.
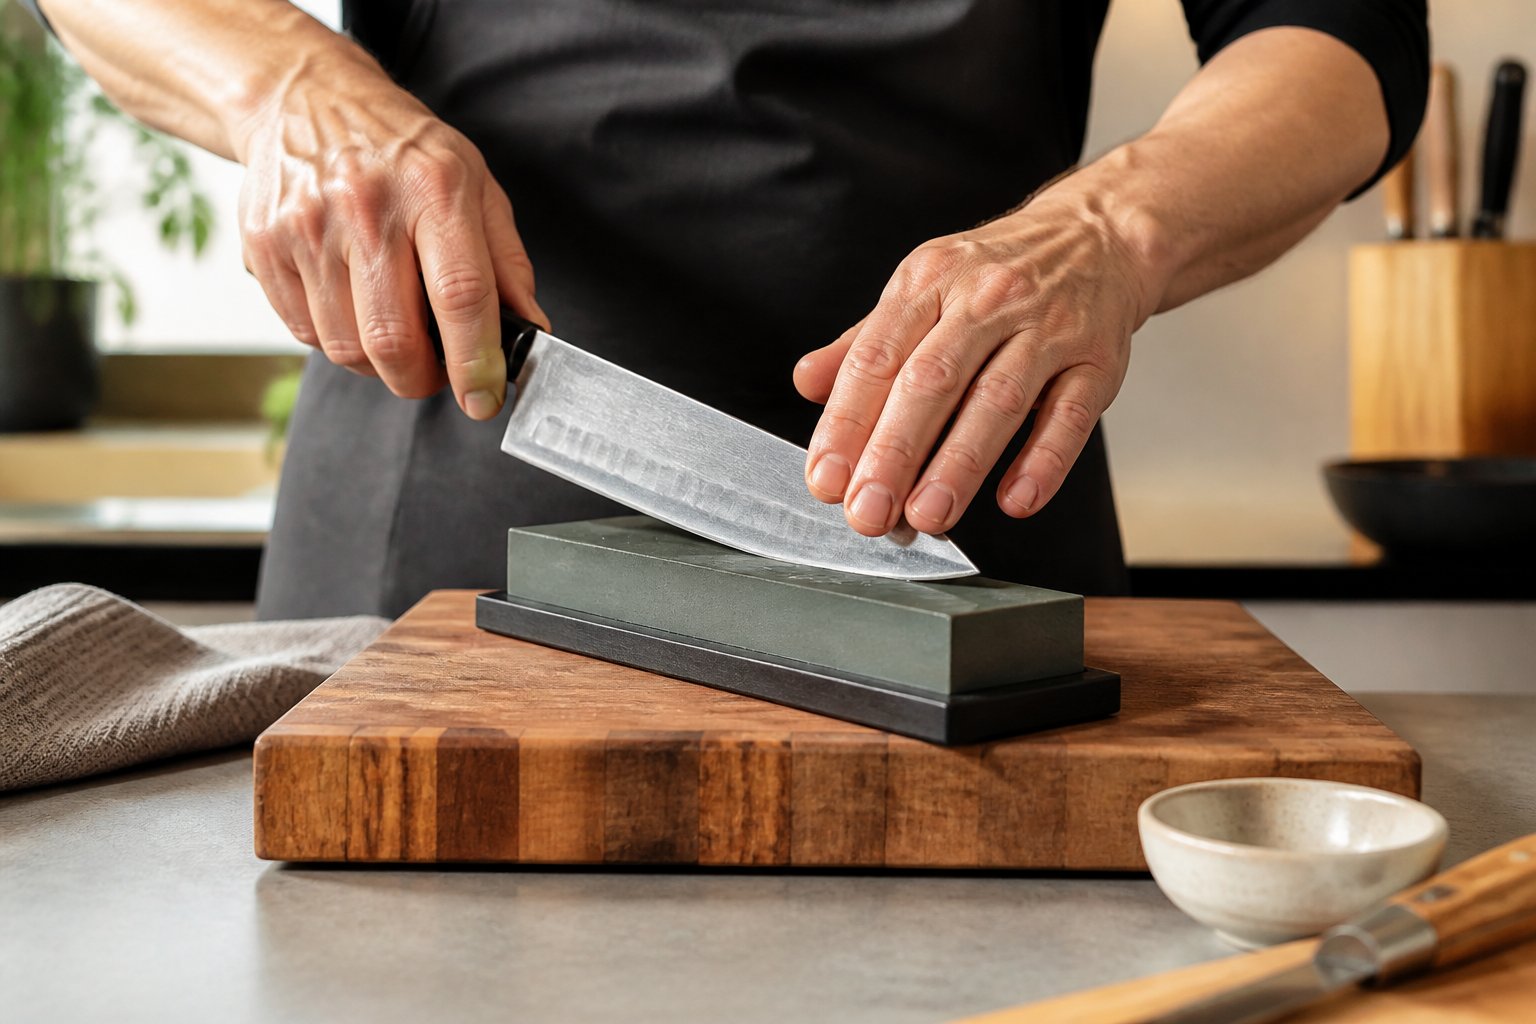
Sharpen the serrations first with the rod, as above. Then sharpen the plain section on a stone, stopping your stroke before the stone reaches the first scallop. If the stone runs into the serrations, it flattens the last tooth and leaves a dead spot where the two sections meet. Deburr both sections at the end with the same flat pass on the flat side.
For plain edge angles and stone technique, our guide to sharpening knives without ruining the edge covers the full process.
Mistakes That Ruin Serrations
These are the habits that turn a good serrated knife into a poor one:
| Mistake | What it does | Fix
|
|---|---|---|
| Sharpening the flat side at an angle | Adds a second bevel and weakens the teeth | Keep the flat side flat on the stone, burr removal only |
| Using a rod that is too thick | Widens scallops and thins the points | Slide to a thinner section of the tapered rod |
| Pressing hard | Chips hard steels and gouges the bevel | Light strokes, more of them |
| Running a flat stone across the whole edge | Grinds tooth points flat | Rod for scallops, stone only for plain sections |
| Uneven stroke counts | Some scallops cut, others drag | Count strokes for every scallop |
How Often Serrations Need Work
Serrated edges stay useful longer than plain edges in rough cutting because the tooth points take most of the contact while the edge inside each scallop stays protected. Rope, webbing, bread crust and tomato skins all get grabbed by the points and pulled into the sharper scallops.
That means you sharpen less often, but when you do, it takes longer. A light touch-up every few months is enough for most pocket knives used for everyday chores. Kitchen bread knives can go a long time between sessions if they are hand washed and stored away from other utensils.
When to Send the Knife Out
Some damage is beyond a rod. Send the knife to a professional or the manufacturer if you see:
- Broken or missing teeth
- Chips deeper than the scallop bevel
- A tip snapped off a partially serrated blade
- Serrations so worn they no longer have distinct points
Check your manufacturer’s service options first, and read the fine print. Benchmade’s LifeSharp program sharpens and tunes Benchmade knives for life, but the scalloped section is left alone: the LifeSharp support page lists serration sharpening as a service Benchmade does not provide at the moment. Owners of serrated Benchmades usually handle the serrations themselves with a tapered rod, which is one more reason to learn the method above.
Keep the Teeth Biting
Sharpening serrations comes down to patience: find the beveled side, match the rod to each scallop, raise a burr, then take it off the flat side with a light, flat pass. Skip the shortcuts that flatten tooth points, and a serrated edge will keep grabbing rope and slicing bread for years.
Find a rod that fits your serrations: stop by Sharp Things OKC at 6610 N May Ave, open 9AM to 9PM every day, to see sharpeners in person and match one to your blade, or finish your setup online with a deburring strop like the Lamson paddle-style leather strop at SharpThings.com.
Frequently Asked Questions
Can you sharpen a serrated bread knife on a whetstone?
Only the flat back side, and only to remove the burr. The scalloped side needs a rod or a serrated pull-through tool, because a flat whetstone cannot reach inside the curves and will grind the tooth points down.
Does sharpening a serrated knife change the size of the serrations?
Every sharpening removes a small amount of steel, so the scallops get very slightly deeper and wider over many years. Using the correct rod diameter and light strokes keeps that change tiny.
Do I need to sharpen every single scallop the same number of times?
Yes, as close as you can. Uneven work leaves some scallops sharp and others dull, and the knife will feel like it catches and skips in the cut. Counting strokes is the easiest way to keep it even.
How do I know which rod grit to use for serrations?
Use a medium ceramic or fine diamond rod for a dull edge, then a fine ceramic rod to finish if you want a cleaner cut. Coarse diamond is only for repairing heavy wear, since it removes steel quickly inside small scallops.
Is a serrated edge better than a plain edge for everyday carry?
It depends on what you cut. Serrations handle rope, cord, webbing and fibrous material well and keep working when dull. A plain edge gives cleaner push cuts, is easier to sharpen, and does more of the fine work most people do daily, which is why partially serrated blades exist.